
A lot of the things I make involve stepper motors. For instance my SandBot uses steppers to rotate the two arms of the robot which draw patterns on a sand-covered table by moving a steel ball with a magnet. My DelBot 3D printer uses four stepper motors to drive the 3D location of the hot-end and plastic extruder. In each case so far I’ve used a different means to control the stepper motors, sometimes using a 3rd party controller like the RAMPS boards that are in almost all 3D printers and sometimes using boards like the Sparkfun EasyDriver
The problem with this inconsistency is that the performance of my different designs varies hugely because driving stepper motors well is quite an involved process:
- To achieve precise control of a stepper motor requires accurate timing, for instance to create smooth acceleration steps need to be generated at an increasing rate at very specific intervals. Trying to do this well without a real-time operating system or dedicated low-level interrupt driven code is pretty much impossible.
- Secondly there’s also the noise made by a stepper driven with an H-Bridge or regular Pololu stepper driver. Fortunately German company Trinamic has, almost single-handedly, dragged the world of silent stepper motors into existence and most good quality 3D printer driver boards (including this one!) now use Trinamic stepper drivers.
The good news is that there are a number of really good stepper driver boards available such as the excellent Duet boards. I particularly like the Duet WiFi and have now used three of them on various 3D printers and it handles both delta and cartesian geometries well. However, the Duet is a large board, measuring around 125x100mm and this makes it rather too big to easily hide away in many of my projects, so I’ve made my own.
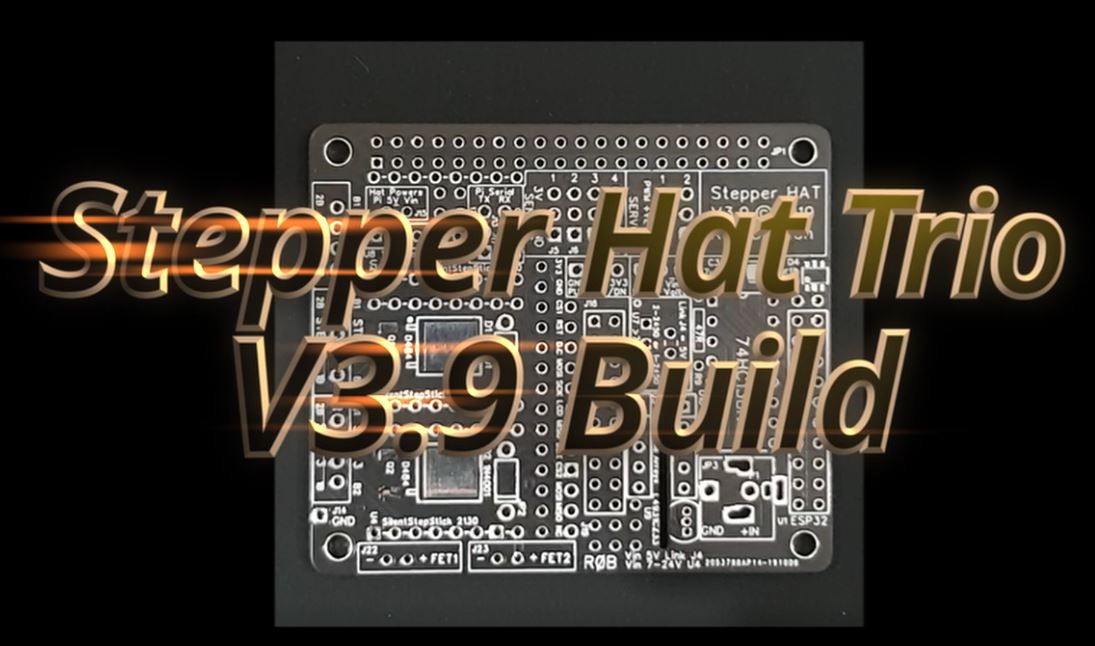
Introducing the Stepper Hat Trio
I’ve designed the Stepper Hat Trio using Trinamic stepper drivers and a dedicated ESP32 as the main processor. The board has the following features:
- Drivers for 3 stepper motors (using SmartStepStick – mainly Pololu compatible – driver modules featuring the Trinamic TMC2130 chip)
- A stand-alone G-Code interpreter
- WiFi connectivity
- Web-based user interface
- Smooth motion generation using my own dynamics engine
- Raspberry Pi HAT physical layout so it can be mounted on a standard Raspberry Pi expansion connector
So far I have used the Stepper Hat Trio to drive the SandBot and it is quite straightforward to create a UI which is unique to each robot design. I’m also working on a new robot to draw on the curved sides of a mug in slip (a coloured suspension which becomes part of the glaze when fired).
Hardware Design and Construction
The design has minimal surface mount components to make it easier to construct. The only surface mount component which is compulsory is capacitor C3 (47uF 25V) which is relatively large (for an SMD component) and, hence, quite easy to solder in place. The other SMD component is an optional protection diode array for the sense inputs and can be omitted if there is no danger of voltages > 3V3 or < 0V being applied to the sense input pins. In most robot designs this is a reasonable assumption since microswitches or magnetic sensors are generally powered from the on-board 3V3 supply.
There is a video documenting the construction of the board on YouTube.