
The latest version of Marty the Robot (and its control board RIC) has the capability to make sounds with its built-in speaker. In order to convert existing sound files for use on Marty you can use a sound editor. We will use the Audacity program because it is available on Windows, Mac and Linux.
Marty (and RIC) use an audio format with the following characteristics:
– Mono
– 8-bit signed integer (PCM)
– RAW – no file header
– 11025 Hz sample rate
Getting Started
First of all you will need to either load a sound file (such as an MP3 file) or create a sound of your own. To load an existing file:
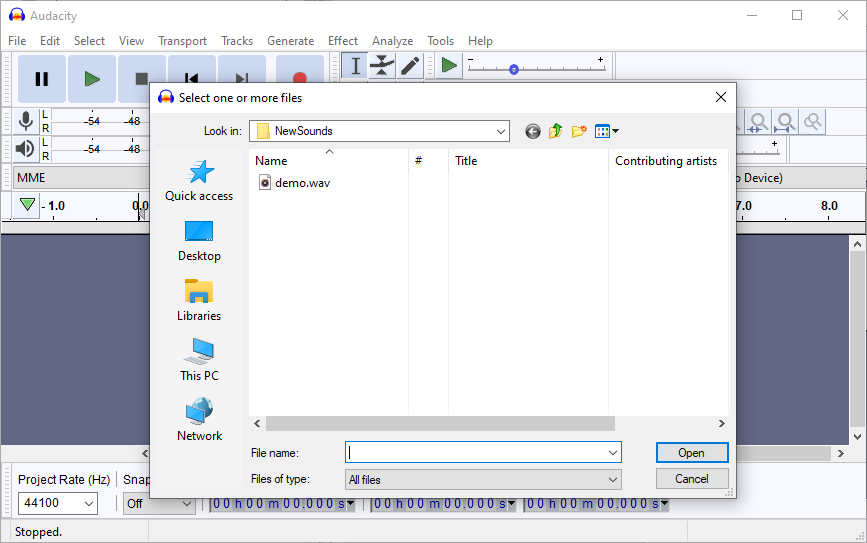
Select File | Open in Audacity and then select your file. You may see this message box:
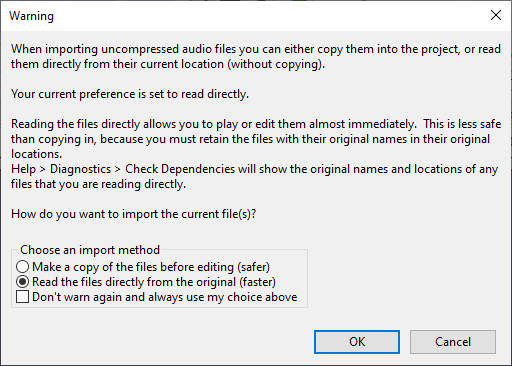
Just select Read the files directly from the original (faster) and then press OK
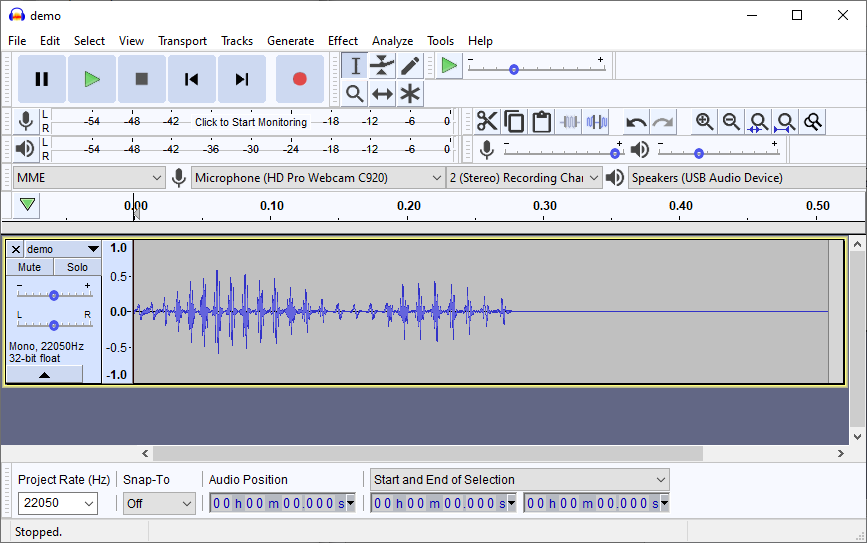
You should now see a display of your audio file.
In order to make the audio usable on Marty you need to do three things:
- change the Sample Rate (or Project Rate) setting of the audio
- adjust the volume of the audio if required
- save the file in a new format
Step 1: Changing the Project Rate (Sample Rate)
At the bottom-left of the window look for the drop-down list which is outlined in red in the image below.
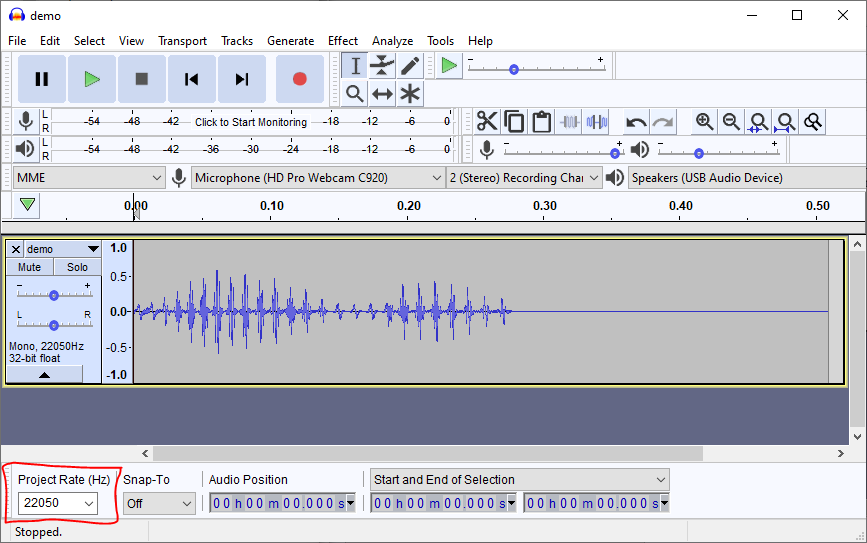
Click on the little downward arrow-head to see a list of numbers and select 11025 from the list.
Step 2: Adjust the Audio Volume if Required
If the audio volume needs adjusting then you can do this with the Amplify effect in Audacity. First select the audio – to do this you can double-click on the little picture of the audio (this is called the audio track) – or you can press ctrl-A on Windows or cmd-A on Mac.
Then select Effect | Amplify
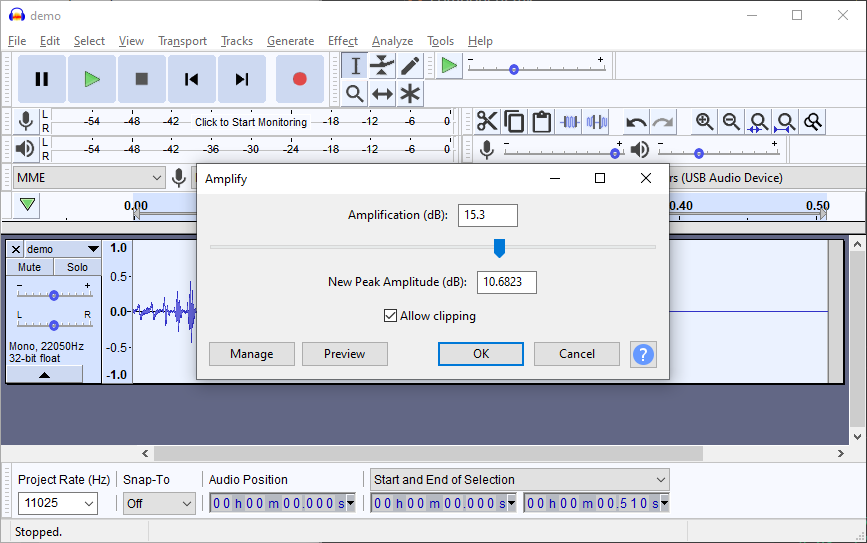
And move the slider to select the level you want. Bigger numbers mean louder sounds. I’ve also checked the Allow clipping box so that the audio can be amplified more (this may create some distortion but that will only add to the “robotic” effect when played from Marty’s speaker).
You can now press Preview to hear the audio amplified on the computer and the OK to make the change permanent.
Step 3: Saving (Exporting) the Audio
The next step is to save the audio file.
Type File | Export
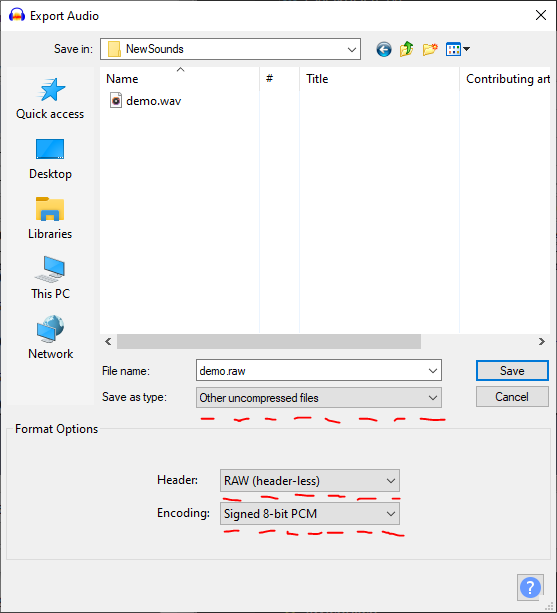
In the File name box type the name of the file you want to use followed by .raw. Please use a short name (maximum 16 characters) as Marty only likes short names.
For the part of the file name including and after the dot you must enter .raw as this is the way Marty knows what type of file we are using.
Now take a look at the three boxes with the red dashes underneath in the image above. Please select from each of the drop-down lists (as you did earlier with the Preoject Rate) so that the options match those in the image above.
Next press Save
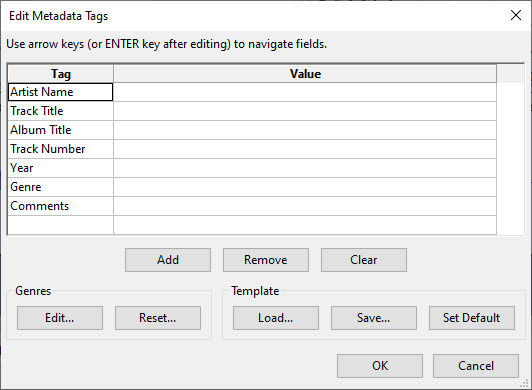
There isn’t any need to change anything here so just press OK to finish saving.
The file is now ready to be used on Marty.
One thing I have noticed is that if you have done everything right and selected your mono audio for export it still sometimes comes out as stereo audio. This seems to be because Audacity always exports stereo if there are any stereo tracks open in the editor – even if the track you selected is mono. The easiest way to fix this is to open another Audacity window (with File | New) and then copy and paste your audio from the original window into the new one. Then export from the new window and it seems to work ok.