Publishing Packages to NPM is pretty straightforward. You just need to set up an account, get the package.json right with the package name, package version, etc and then use npm publish.
But even those few steps are a little bit of a barrier when trying to do things efficiently so here’s a guide to getting the whole thing automated.
Quick GitHub Actions Overview
The first step is to set up the GitHub Actions that will automate the processes. I won’t go into detail as there are a lot of good articles about GitHub Actions but here are the basics:
- All GitHub Actions are specific to a repository
- GitHub Actions are driven from YAML files that are placed in a folder called .github/workflows in the root of your project (the root is where the package.json file is)
- Each action kicks off one or more jobs triggered by a condition such as you pushing to the repository or you making a release on the repository
- Jobs can do things like running npm scripts (build, test, publish, etc) and can make changes to files in the project too
Linting and Testing
I’m using a short YAML file to do run eslint and the jest tests on my code. I found this YAML somewhere but haven’t kept a record of where so apologies if I’m not properly crediting whoever wrote it. This code is in the lint-and-test.yml file but it will work in any .yml file that you place in the .github/workflows
name: Lint and test

on: [push, pull_request]

jobs:
  build_and_test:
    runs-on: ubuntu-latest
    strategy:
      fail-fast: false
      matrix:
        nodejs: [12, 14, 16]

    steps:
    - uses: actions/checkout@v2

    # https://github.com/actions/setup-node
    - uses: actions/setup-node@v2-beta
      with:
        node-version: ${{ matrix.nodejs }}

    - run: npm install
    - run: npm run test
    - run: npm run lint
    - run: npm run build-all
Publishing to NPM
In order to publish to NPM a security key has to be provided. To obtain a key log into NPM at https://www.npmjs.com/ (create an account first if you haven’t already done so) and then drop down the profile box (shown below) and click Access Tokens:

Next click the Generate New … button (unless you want to use an existing token) and ensure that you click Publish as the type of token:

You will be shown the private section of the token in full so make a copy of this somewhere safe.
Now log into GitHub and into the repository that you want to publish. In my case it is called robotical/ricjs-robotical-addons and click Settings

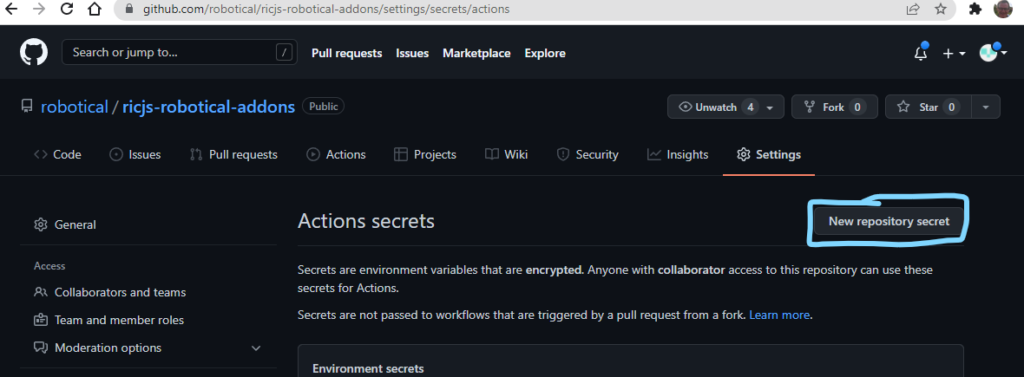
Now click Secrets | Actions on the left panel menu:

Click New respository secret:

Now enter NPM_TOKEN as the Name
Enter the string of characters that you got when you registered for a token on NPM in the Value box

Click Add secret.
Now add the following yml to your .github/workflows folder – the name doesn’t matter but I’ve got a script called release-package.yml – again this came from somewhere but I haven’t recorded where so apologies to the original author:
name: Publish Package to npmjs
on:
  release:
    types: [created]
jobs:
  build:
    runs-on: ubuntu-latest
    steps:
      - uses: actions/checkout@v2
      # Setup .npmrc file to publish to npm
      - uses: actions/setup-node@v2
        with:
          node-version: '16.x'
          registry-url: 'https://registry.npmjs.org'
      - run: npm ci
      - run: npm run build-all
      - run: npm publish
        env:
          NODE_AUTH_TOKEN: ${{ secrets.NPM_TOKEN }}
Publishing Documentation on GitHub Pages
If you have generated documentation for your package then you can publish this automatically too.
The script I’m using is:
#
# Builds the docs and deploys to GitHub pages
#
# https://github.com/actions/setup-node
# Using https://github.com/marketplace/actions/deploy-to-github-pages
name: Deploy to Github pages

on:
  push:
    #tags:
    #  - v*
    branches:
      - master

jobs:
  deploy_pages:
    runs-on: ubuntu-latest

    steps:
    - uses: actions/checkout@v2
    - uses: actions/setup-node@v2
      with:
        node-version: '16'
        cache: 'npm'
    - run: npm install
    - run: npm run docs

    - run: touch docs/.nojekyll
    - name: Deploy docs ?
      uses: JamesIves/github-pages-deploy-action@releases/v3
      with:
        GITHUB_TOKEN: ${{ secrets.GITHUB_TOKEN }}
        BRANCH: gh-pages # The branch the action should deploy to.
        FOLDER: docs # The folder the action should deploy.
When the master branch is published a branch called gh-pages is updated (and created if it doesn’t exist). This branch contains the documentation in a form that is ready to be published with GitHub Pages.
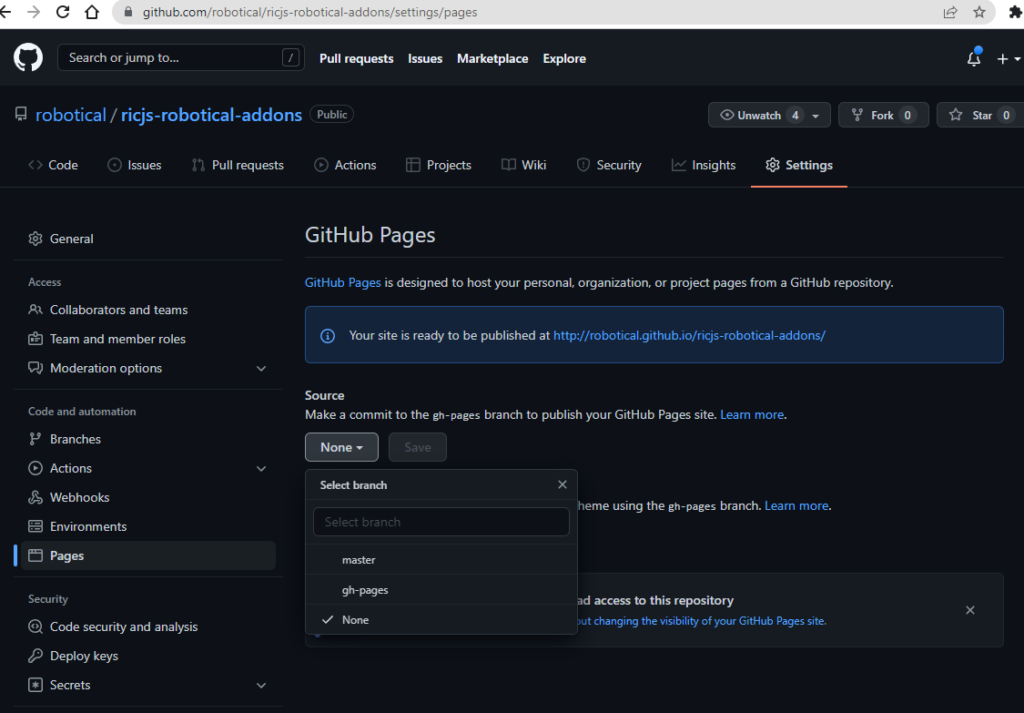
To complete the publishing process go to your repo on GitHub and click Settings and then select Pages from the left column menu.

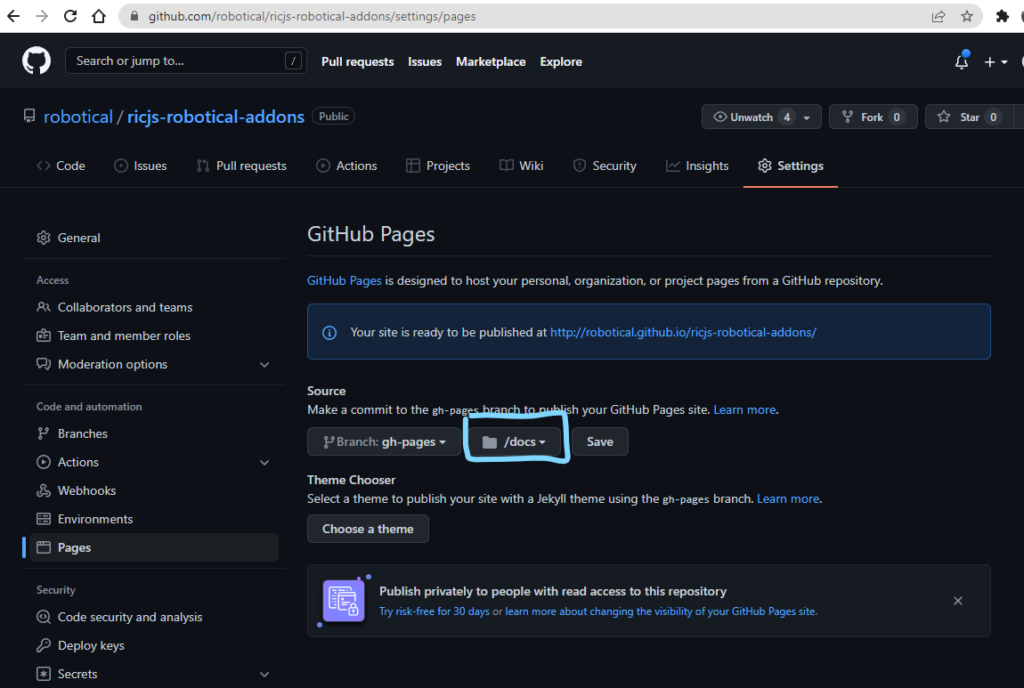
Click the Source button and select gh-pages.

Your page should now be published.
