Things related to the coming day are forgotten pretty routinely in the morning rush, especially in relation to children. I’ve made a couple of things to help with this in the past (a calendar-printer and projected calendar) – but both of these assume that parents or children bother to look at them in the morning. Recently that hasn’t been happening and we’ve missed a few music lessons and the like which occur at irregular times during the week.
An Auto-Updated Alarm Watch
So I decided to tackle the problem head-on and make something for my kids that actually alerts at the required time automatically – if an appointment is in the calendar (we used a shared online calendar for these appointments) an alert will go off discretely with enough time to still make the appointment. Unfortunately the use of smart-phones during the day is banned in the school our kids go to and even looking at one during a lesson is a no-no. Which means that only a watch or similar can be used for alerting. An Apple or Android watch might be an option but they are not really suitable for children so I took the decision to build something small and cheap which could have alarm details pushed to it automatically.
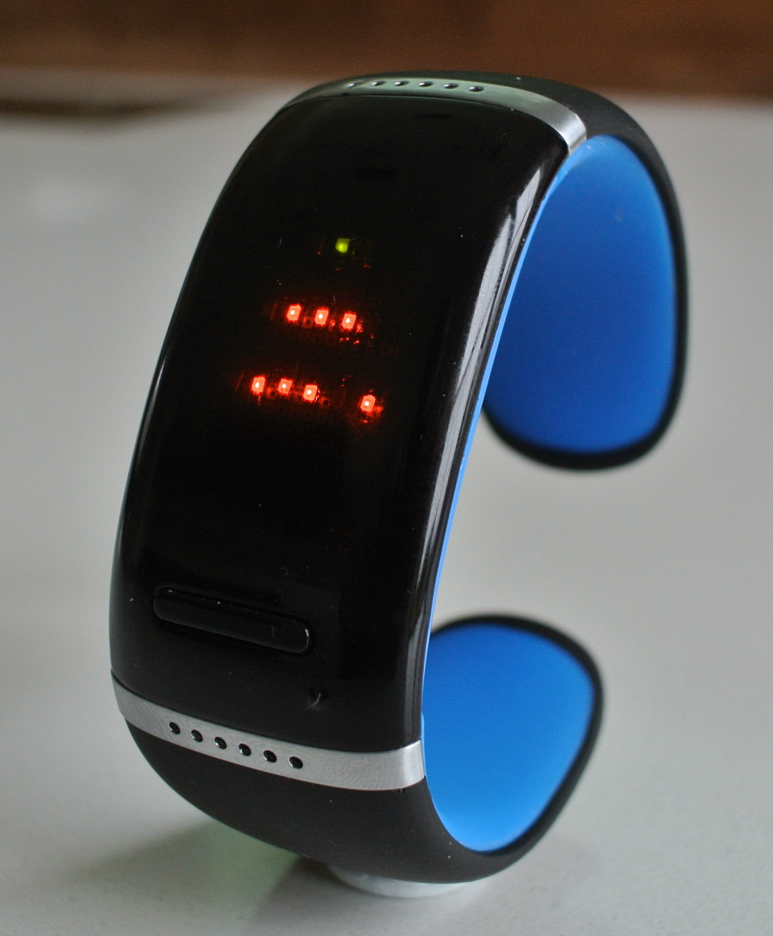
Having located a suitable cheap bracelet style watch on Amazon I attempted to program it to do what I wanted. Unfortunately there doesn’t seem to be an easy way to push calendar events or alarms to watches like this without pairing them with a mobile phone on a regular basis.
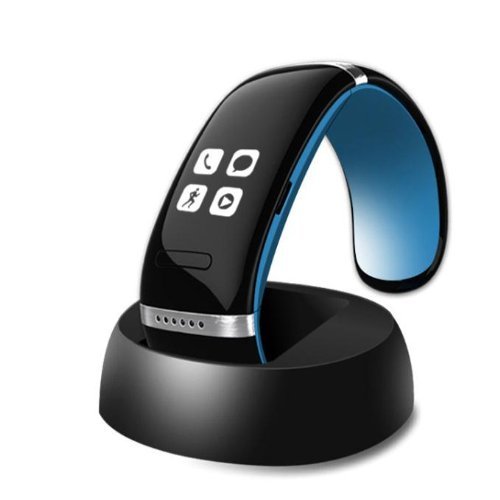
So, of course, I took the watch apart to see how much space there was and whether it was possible to replace the electronics (exposed below) with something suitable for the task.
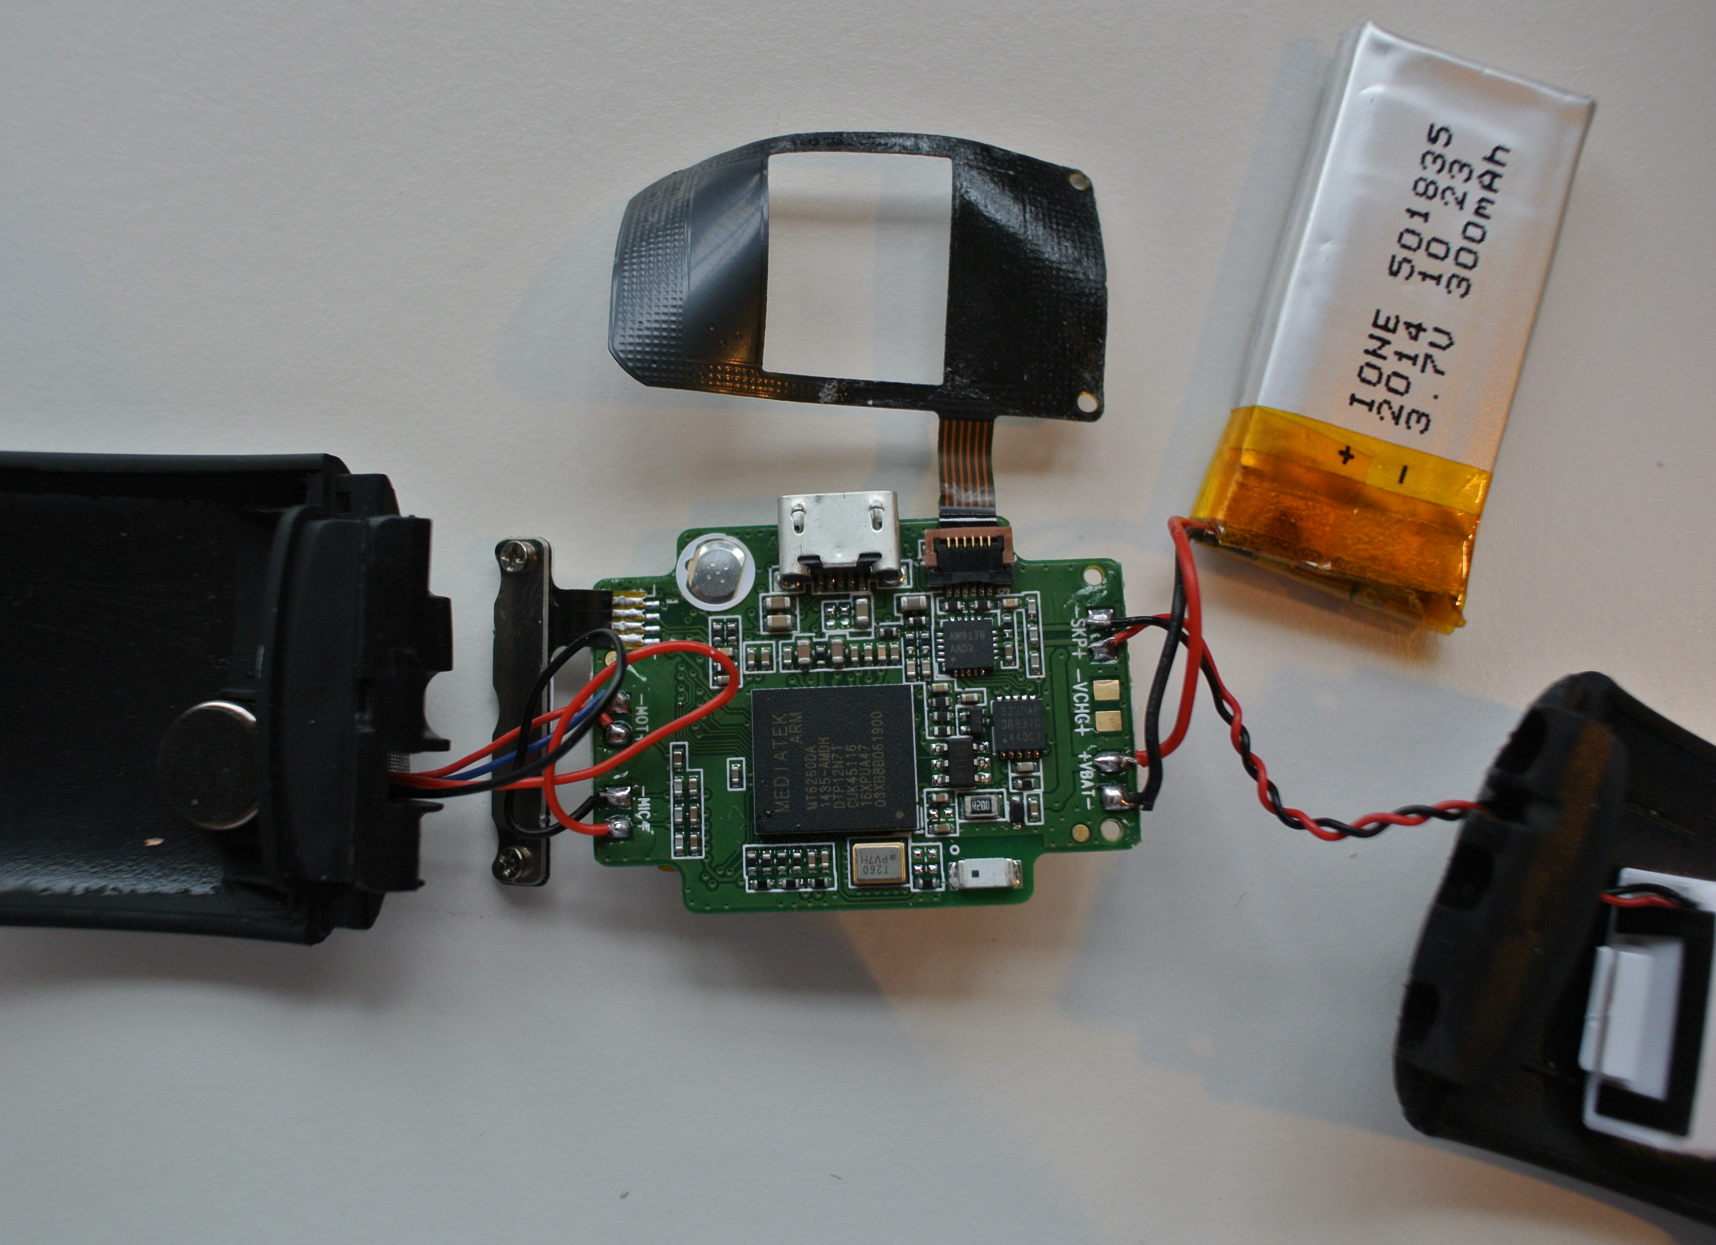
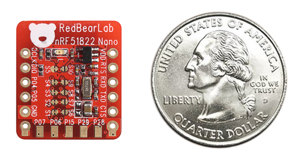
It turned out that there is a lot of space in there – not enough for a big MBED or Arduino board – but ample for a small Bluetooth Low Energy microcontroller like a Seeed BLE Micro or Red Bear BLE Nano which are both based on the Nordic NRF51822.
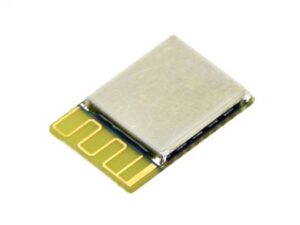
Seeed BLE Micro
I went with the Seeed device as it was the smallest.†
A Binary Watch
The first real problem encountered was with the display. I had hoped to use the mono display (OLED?) in the original electronics but its cable was surface mounted and I wasn’t able to identify the driver chip. My search for suitable replacements, that came assembled with driver electronics, only turned up displays that wouldn’t fit the enclosure.
Since the real purpose of the watch is the alert (and the ability to push the calendar entry to it), the only critical aspects would be the vibration motor and the Bluetooth Low Energy capability. This led me to decide that a bunch of simple LEDs would be adequate to make a binary display and it would add a little binary interpretation practice for my kids into the bargain 🙂
Making the Components Fit
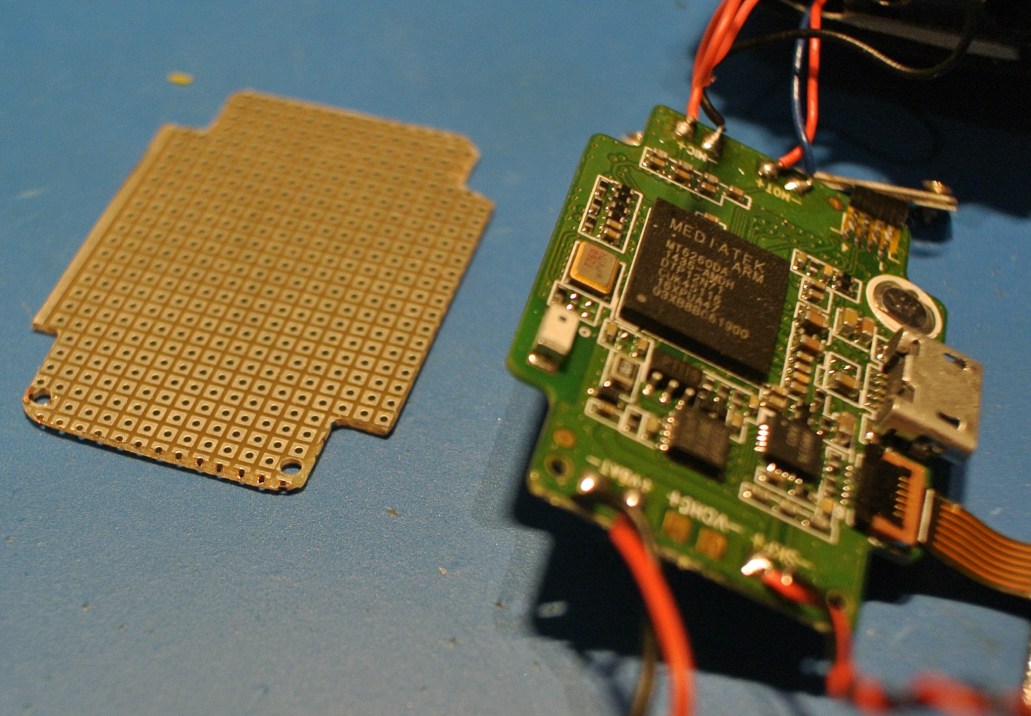
A big challenge was the small scale of the main components and the accuracy required to keep everything looking good. The PCB was cut from a thin prototyping board cut to match the original – which was pretty tiny – and this required quite a few adjustments to get it to fit the space well. Also, getting the positioning of the USB connector to be accurate enough for the housing to go back together required a few iterations.
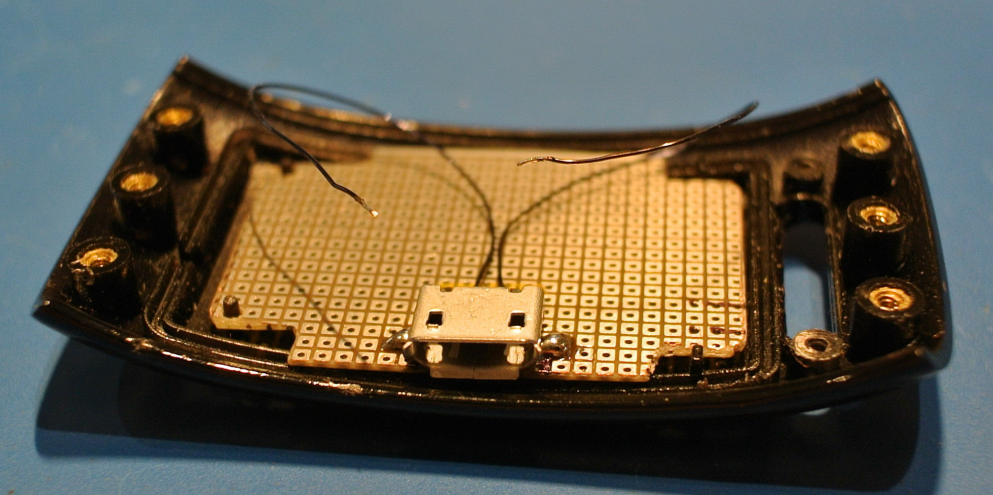
Battery Charging and Power Supply
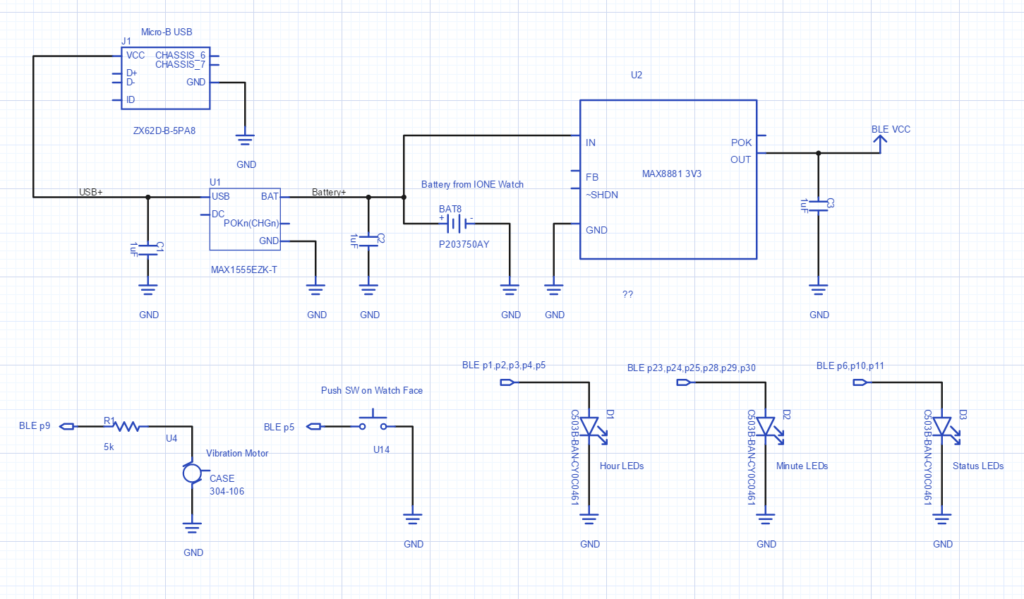
The only real challenge with this electronics was to find a good way to supply power to the Seeed BLE Micro and handle charging of the battery. Eventually I used a battery charger IC Max1555 and LPO power supply chip Max8881 with minimal external components to charge the battery and provide the power. The low external component count was a real blessing as hand soldering the discrete surface-mount components is pretty fiddly. The schematic is here on upverter.
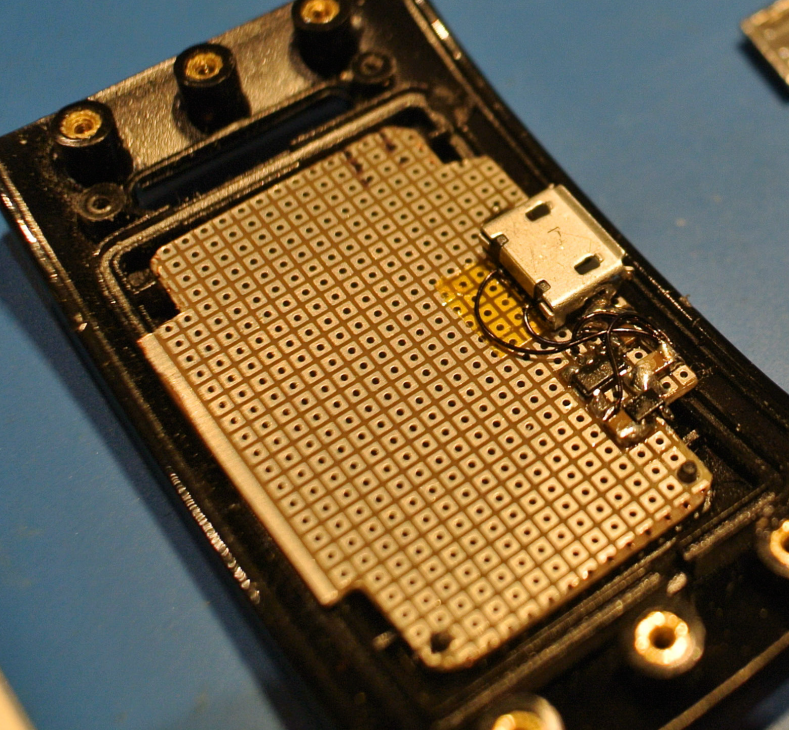
This is the completed battery charging and power supply circuitry minus on capacitor which hadn’t been added at this stage.
Completing the Build
Completing the build was pretty fiddly but, since I’m used to using enameled copper wire from many years of homebrew computer construction, essentially straightforward. You can see that the Seeed BLE Micro is mounted upside down – a decision made after trying a couple of times to solder it directly to the PCB using a hot-air soldering station … each time some connections failed. Actually mounting it upside down made a lot of things simpler as there were no worries about through-hole connections on the prototyping board – since the display LEDs are mounted directly on the other side many of the pad locations would have been ruled out.
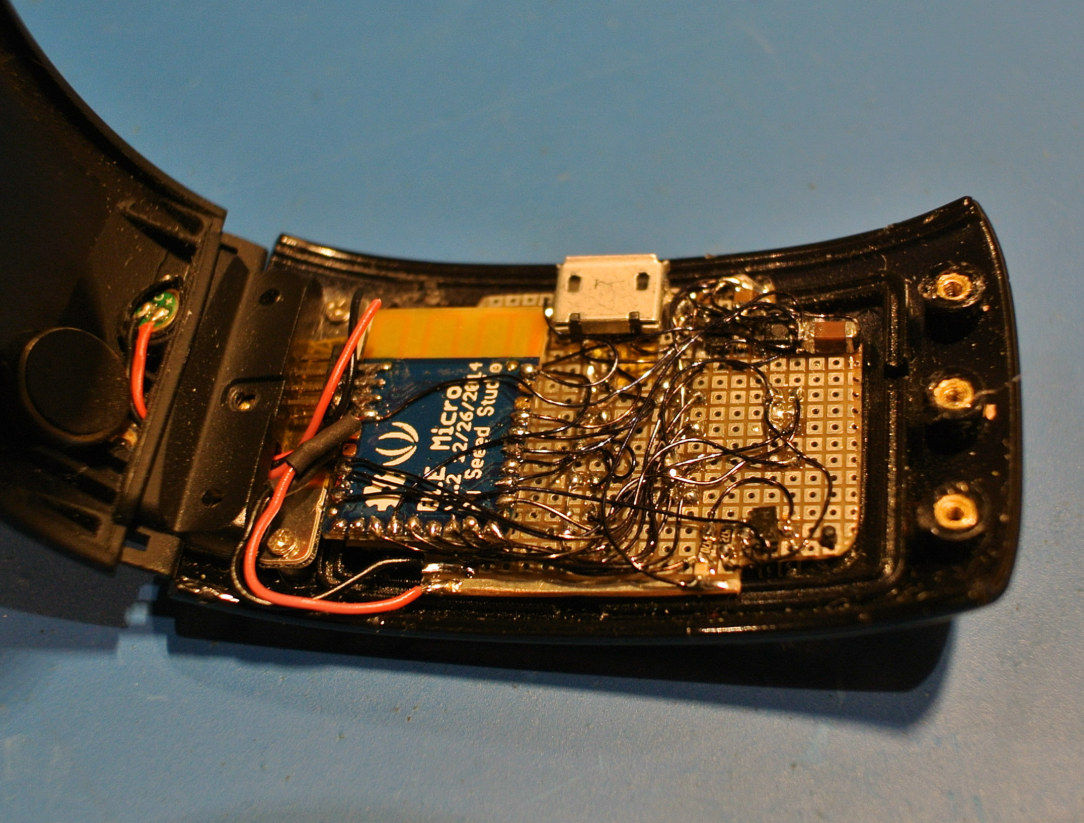
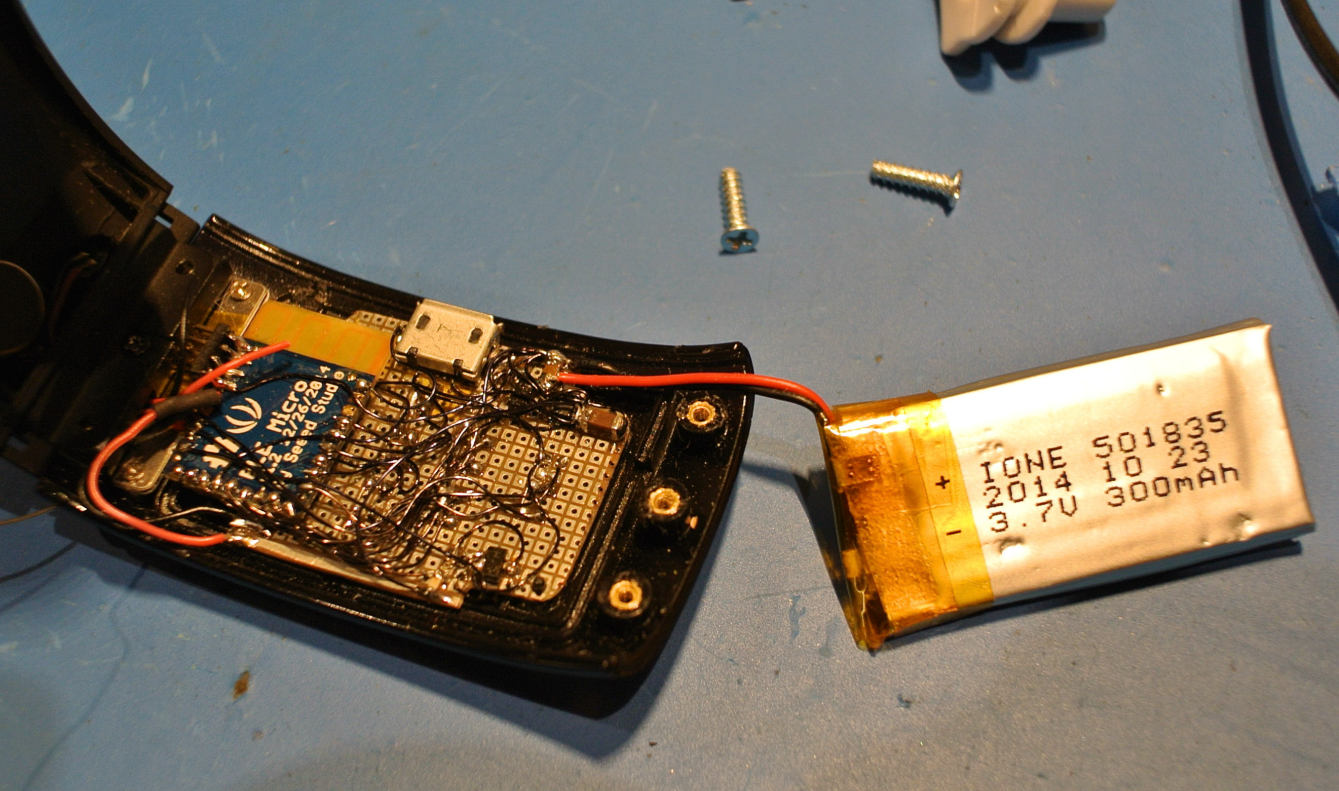
Alignment of the LEDs was a particular challenge and required a number of iterations – it surprised me just how accurately placed a line of LEDs needs to be for it not to appear very wonky.
BLE Watch Software
The software for the watch was developed in the (now legacy) MBED original online environment. There’s nothing very complex about it but getting ones head around how to develop a BLE application in MBED takes a little work. I ended up creating two BLE characteristics (one for the watch time and one for alarm time).
There was also a bit of work to handle the actual updating of the clock. Francis Schumacher has very handily created a library for the RTC in an NRF51822 and all that requires is a regular call to its time() method to avoid timer roll-overs. The Ticker (an MBED class which provides a regular callback) to handle this also checks if an alarm is due (and vibrates the watch motor if there is).
The time keeping seems to be accurate to around 2 seconds a day. The full watch code is on MBED.
Programming the BLE Micro
One of the challenges of using tiny modules like the BLE Micro is that there is no USB programming interface. It is, in theory, possible to program the BLE Micro over the air but, while this worked on a couple of occasions, the effort of transferring the program over to a smartphone to send to the watch proved to be too much. Instead a Seeed Arch BLE can be used. Disconnect the jumpers for SWDIO and SWCLK and connect cables from the header (including GND) to the BLE Micro – I used a tiny connector. This enables programming of the BLE Micro as though it was the equivalent module mounted on the Seeed Arch BLE board – i.e. by dragging and dropping the hex file generated from the online MBED tools.
Update to Calendar Printer to Send Time and Alarms
To complete the picture the software for the Calendar Printer was updated to send the current time and any required alarm automatically whenever the watch is in Bluetooth range. This code uses the bluepy bluetooth library for Python on the Raspberry Pi. The only interesting part of the code is the part which scans regularly for a BLE device, connects if it finds one with the name “JoesAlarm” and (assuming the connection succeeds) sends the time and alarm details to the device. The full software for the calendar printer is on github.
	def setTimeAndAlarm(self, timeout, alarmTimeToSet):
		scanner = btle.Scanner().withDelegate(ScanPrint())

		print (ANSI_RED + "Scanning for devices..." + ANSI_OFF)
		devices = scanner.scan(timeout)

		# Check if we found an AlarmWatch
		for d in devices:
			if not d.connectable:
				continue

			#Send time to device if so
			for (sdid, desc, val) in d.getScanData():
				descAscii = desc.encode('ascii','ignore').replace('\x00', '').strip()
				valAscii = val.encode('ascii','ignore').replace('\x00', '').strip()
				print ("Desc ", descAscii, " Val ", valAscii)
				if descAscii == "Complete Local Name" and valAscii == "JoesAlarm":
					print("Sending time to " + ANSI_WHITE + d.addr + ANSI_OFF + ":")
					device = WatchDevice(d)
					device.watchTime.enable()
					device.alarmTime.enable()

					ts = time.localtime()
					print('Watch Set To ', time.time())
					watchTimeT = time.time()
					device.watchTime.write([ts[0],ts[1],ts[2],ts[3],ts[4],ts[5]])
					print('Watch Time Read Back: ', device.watchTime.read())

					if alarmTimeToSet != 0:
						ts = time.localtime(alarmTimeToSet)
						device.alarmTime.write([ts[0],ts[1],ts[2],ts[3],ts[4],ts[5]])
						print('Alarm Time Read Back: ', device.alarmTime.read())
						print('Diff time ', alarmTimeToSet - watchTimeT)

					device.disconnect()
					del device

					return True

		return False
† Note that I actually had a few Seeed BLE Micro V1.0 devices lying around and, after a lot of hair pulling, realised that this version is incompatible with the current MBED BLE stack. There is a work-around but that involves forking various libraries and implies being off the main development thread so I forked-out (pun intended) instead and bought some v1.2 units.

